ArcGIS.com is a web service, just like Google Maps. However, it’s much more powerful.
ArcGis can do pretty much everything that Google Maps does (create layers, add markup, change base maps, save your data, share to others, run datasets in and out from other other applications) and it can do a lot more.
In fact, it can do more than even Google Earth can do, but we’ll get to those things later. For now, let’s just view ArcGIS as a super Google Maps.
Let’s start with some background. ArcGIS.com is a creation of Esri. Esri used to mean ‘Environmental Research Systems Institute’…now it just means ‘The company known as Esri.’ They pretty much own the heavy duty geospatial tools business – everyone who needs enterprise-level GIS uses them. They also hold a conference every summer in San Diego (http://www.esri.com/events/user-conference) and it has a truly jaw-dropping number of sessions covering an insanely wide variety of topics.
ArcGIS.com is Esri’s move to the web. Thankfully, you can use it for free (once you set up an individual account with Esri)…plus Lehigh has an institutional account (which you can access with your Lehigh computing ID).
- Create a free account for your own use: https://www.arcgis.com/home/createaccount.html ….or….
- Log into the Lehigh institutional account: https://lu.maps.arcgis.com/home/
Once you’re logged in, let’s make a map: Go to the MAP tab at the top of the page
Now, you get a nice, fresh map with the default base layer (Topographic) and nothing else. (To see your layers, make sure you have the “Content” tab selected – it’s highlighted in the screenshot below).

From this point, we’re going to try adding some data. To do the sorts of things you do in Google Maps, try ADD -> Map Notes

Just like in Google Maps, you can add points and paths…but you can also add polygons! Arrows! Circles! Text labels! Basically, this web service is made for map-making…Google Maps was just made for some light markup.

Try adding some markup to your map!
Here, I selected the Push Pin tool and once I placed it on the map, I get a details pop up box where I can add additional info and style my mark.

To view your layers again, click the small arrow highlighted in this screenshot:

Here I got carried away with the text tool. Once you close up the editing (i..e, click that small triangle), you will see that your new layer is now stacked on top of the basemap.

But this just scratches the surface of what can be done. The other options under Add are where the real action is.
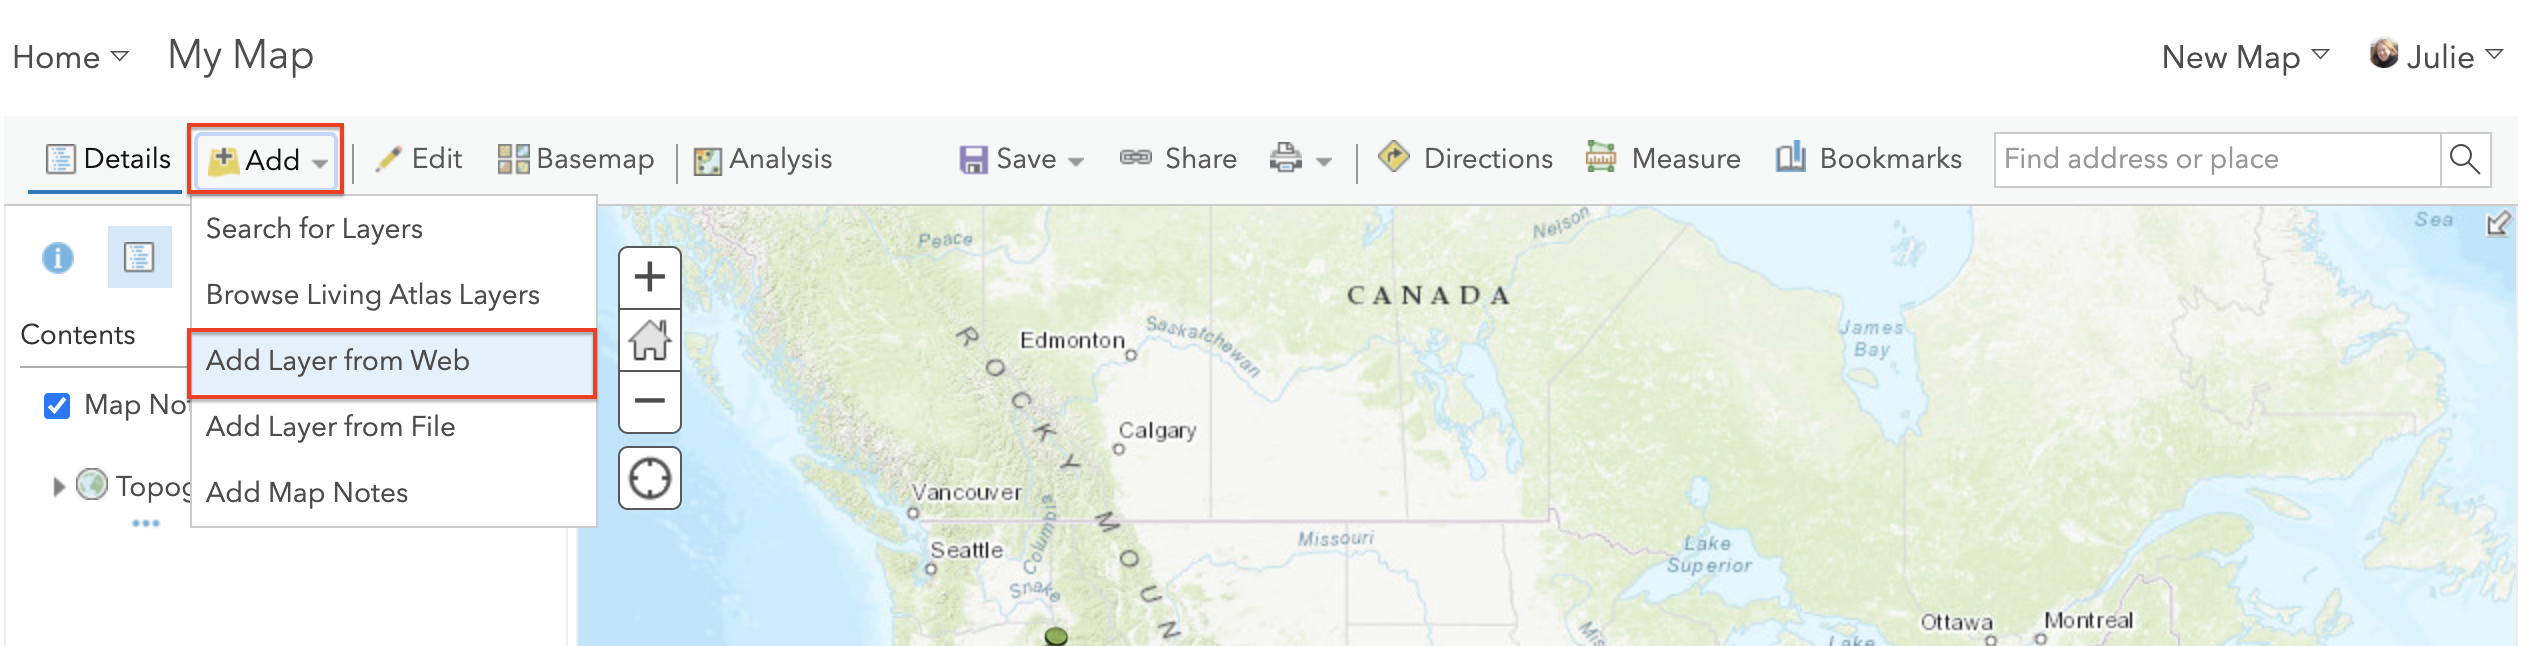
Here is a quick tour of some other key functions found within the ADD menu:
- ADD LAYER FROM FILE lets you upload other datasets…unfortunately, not a KML or KMZ file, but things such as .csv and Excel files.

- ADD LAYER FROM WEB lets you bring in a file that’s already parked on the web. Oddly enough, when you go this route, you CAN bring in a KML or KMZ file. (I have to warn you that the results aren’t perfect, though.)
- SEARCH FOR LAYERS is where the real excitement is. True, in Google Earth you can add layers, just like here. However, the layers in ArcGIS are a lot more diverse than the layers in Google Earth AND they’re user-generated.

Once you’re in the search tool, click on the “My Content” drop down and you’ll see all the places you can search. Choose “ArcGIS” online and try searching for “Lehigh”. Your search should return a lot of possible layers you can add. Explore some of the other search options.

SAVING: Unlike Google Maps, you do need to Save your work (or do Save As to save different versions).

CONTENT Anything you save, will be stored in your CONTENT library. You can get to your CONTENT from the drop down menu in the top left corner of your screen.

SHARING: Like in Google Maps, you need to Share your map in order to let others see it. This is one instance in which working in a Lehigh account is better than a personal account: You can share a map only to Lehigh users, or even to a sub-group within Lehigh. The really cool thing is that you can share your map with just a link! ArcGIS hosts your maps for you online.

As stated up top, ArcGIS.com does a lot more, but if you’ve followed the thread thus far, you’re off to a good start.
Here’s a recommended activity: Import your Happy Place KMZ/KML file into ArcGIS online. (Go to ADD –> Add Layer from File) Once it’s there, mark it up, change the base map – make it a better map. You’ll be pleased with the results.
